Saturday, February 20, 2016
Life Tip: Turn 57 to Receive a Card That Really POPS
My maternal uncle's 57th birthday was coming up this last January, and his sister (my aunt) wanted me to create a unique pop up card for him. She actually commissioned me to do this, in fact. I really procrastinated on this one, but when I finally just sat down to make it, the paper-making just poured out of me. I had previously come up with the poetic wording for this card, a few nights before. Wording has never been difficult for me. So this card is really just an interactive pop up card. You read the front, open it up, and read the inside. You are then instructed (by the "Pull Forward") to pull the card up, and voila! it becomes a self-standing picture frame. Just like something you would have on your nightstand or in your living room. Everything in this card is made of paper. This idea of mine really came from a combination of pop-ups. At first, I really wanted the picture frame to come up all by itself. But I think this idea is innovative and pretty awesome anyway!
Saturday, December 26, 2015
The Wooden Table Made of Paper
| I printed and cut out photographs of actual table legs to give the wooden table effect. If you look at the top you can see the side of the envelope and just how thick the letter was. |
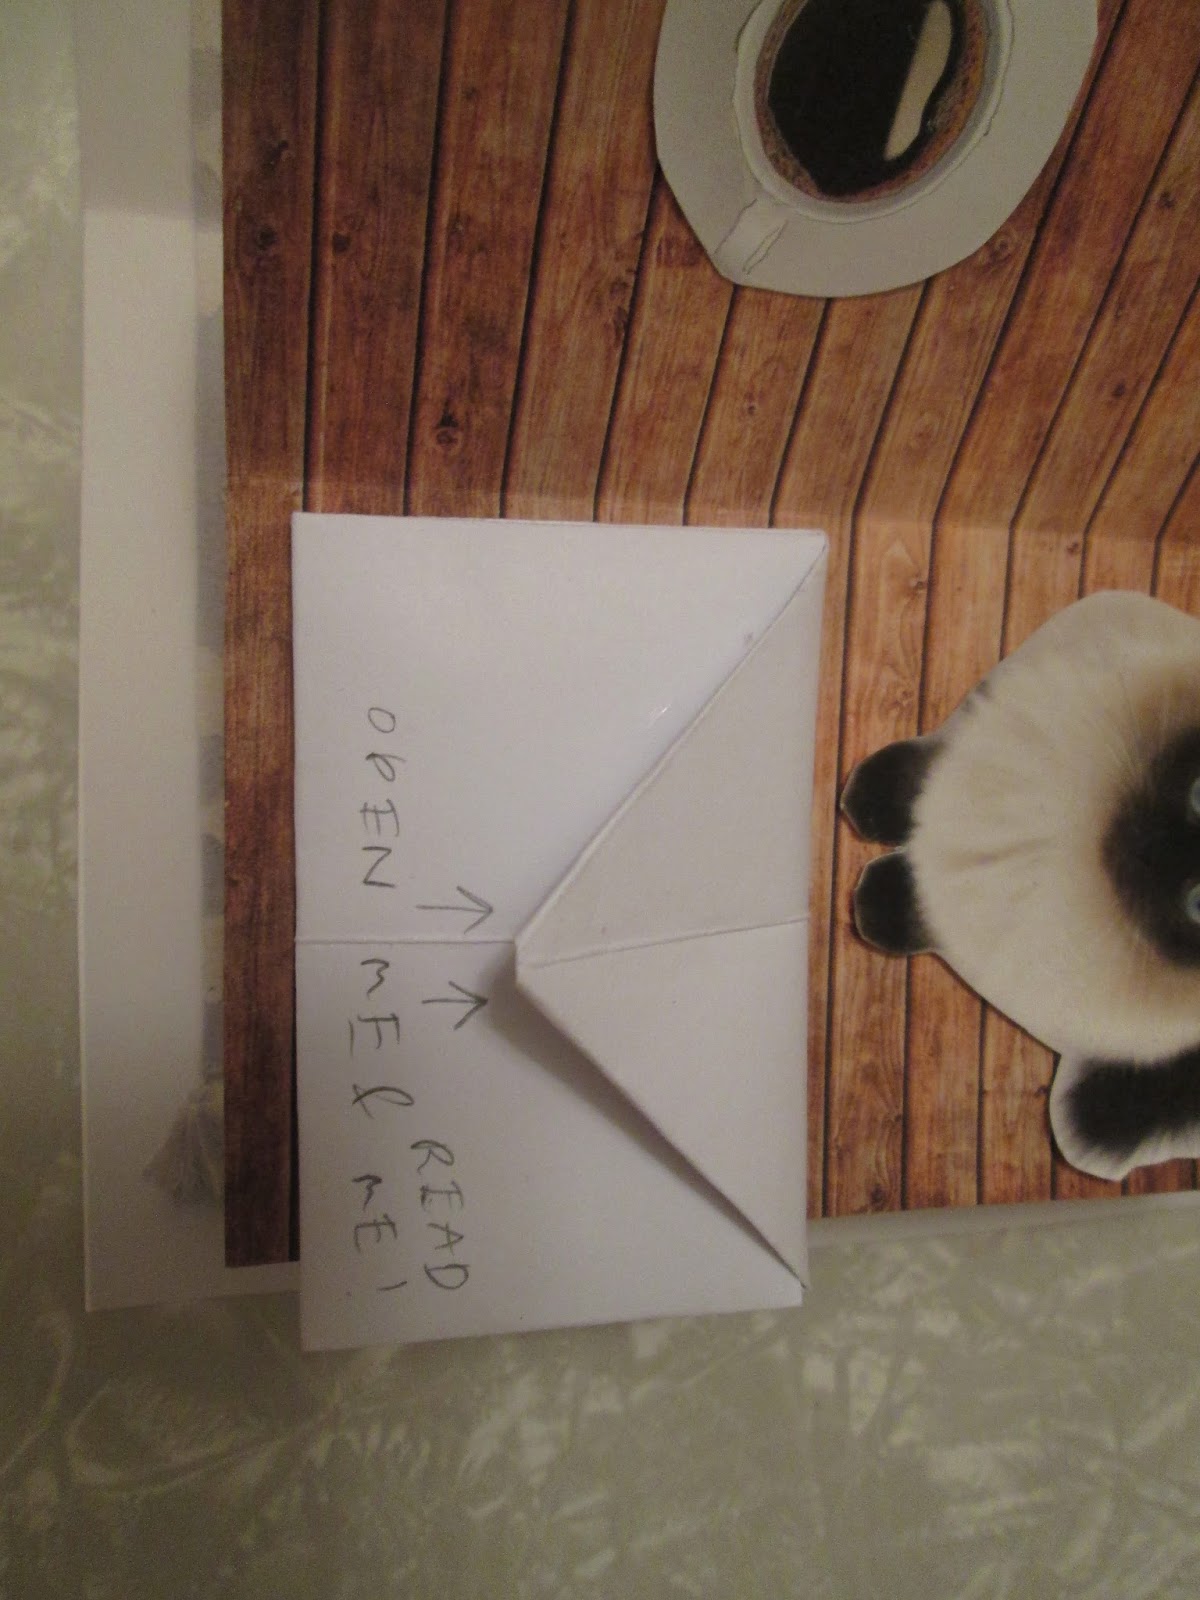
Recently I had the task of writing someone back, but I wanted to be creative about it. So I decided to create for them a writing table with a fresh cup of coffee, a cat, and the actual letter sitting on the top. I, of course, needed a tasseled rug to complete this look. Everything you see on this card is made of paper. I used box supports to make the table lift into a standing position when one opens the card. What I love about this pop up card, is that it for the most part looks like a real table you could have in your living room. If you open up the envelope on the table, there is a folded piece of paper with the words that I wanted to say. If you turn the card to the backside, I have my ZDesigns logo stamped there.
Ms. Francine's Holiday Show
| My famous quilter aunt, Kyra Hicks, came out to support me and watched my items while I took breaks! |
A few Sundays ago, artist and dollmaker, Ms. Francine Haskins opened her home/studio for several artists to sell their work (ME included!). I was there from 9am to 7pm. It was an amazing experience for me because it was the first show where I got to meet potential customers. This really was a learning experience as well, and I learned a lot about what an audience desires of my work. I sold several of my purses, and some of them even sold TWICE!! I sold many of my pop up greeting cards and artist books. It was wonderful to be able to connect with my audience and I really look forward to my next show-wherever that is!
Friday, November 20, 2015
Easy Breezy Zebra
According to my blog history, I made this tissue box cover design for the first time more than 2 years ago for my high school English teacher. It really seems like yesterday. This one is different however, because I decided to put the hair on two of the zebras. This took me a few weeks to finish, though I really thought it would take longer! Of course, my logo is on two sides. I can't wait to see how this one will sell. Design credit to Conn Baker Gibney!
Friday, November 13, 2015
4 Black Santas
This lovely design is in existence thanks to Conn Baker Gibney. Maybe you can't tell, but Santa's face is on all four sides.The Santa in the original design has a pale face, but I decided to put a simple spin on that. What I just love, and I enjoyed doing, is the puff ball on his hat. It really gives this tissue box cover a 3D feel. The beard is simply rows and rows of turkey loop stitches, which are just individual loops. The finished produce is very soft! I also used turkey loop stitches as the inside lining of the grey shoes I created a few years back-and many posts back. I have faith that this tissue box cover will sell around Christmas time.
~Blue Flames~
The design credits for this gorgeous purse go to Fran Rohus. This purse is called "Blue Flames". As you can see, the design does indeed look like a series of flames.This is the second one I've completed to date. This purse took me several years to complete only because I stopped for a long time. I guess I just needed a break from needlepoint, but I came back STRONG and completed this piece with my logo (ZMW) on both sides, a reinforced bottom perfect for using like an actual purse, and light purple and dark purple lining. As you can tell, I was very happy to be modeling this purse-I don't always get a chance to model my needlepoint pieces. I also don't always wear dresses! I would LOVE to be able to tote this around myself, but it's time to let someone else be the owner.
Saturday, September 12, 2015
The Box Card
Saturday, August 22, 2015
Play it Again, Rosie!
This is a quick video of the completion of the final stages of my Rose on a Piano tissue box cover. This box was designed by Cathy Mullins. I could have, of course, done a time-stamp video of the WHOLE process, but this is just as intriguing, I feel. I started and finished this tissue box cover over the course of my week-long vacation. I felt confident with the tricky part, the rose, because I have made this box once before for a friend.
Thursday, July 30, 2015
Many Talents, One Show
Recently my needlepoint work was on display at a local talent show. The talent show was put together by the EDGE group that I'm a part of. For this to work, I had to surrender my items to them before the actual show. I'm just in love with how they displayed my work! The silk blanket is just a perfect match for the designs laid out here. You'll notice that the lights were dimmed just perfectly and there are tiny fake candles on the blanket as well to add a little pizzazz. The painting in the black frame was something another artist did for the show. I had a blast on this day, and it felt nice to get back to displaying my work; it had been a while.
Wednesday, July 29, 2015
Spiral IN Control
Again, here is a wild card with a simple idea. The spiral here is very easy to make, and it lies flat when closed. I wanted to show my friend that they are in no way an average-joe. I think this card displays that very well. And I absolutely love the different papers used here. The top and bottom pictures are the front and back of the card.
The Flattest Tissue Box Around
The fact that I have to hold this pop up card up in no way diminishes its awesomeness. I made this card for a friend with a very serious illness, and the irony is that I'm sending them a card one would think to make for someone with a cold! I think it's funny. The tissue in this card is real. All the tissue box is, is a single piece of paper with a hole in it, and three folds. This one is pretty cool, simply because it requires so little effort. I made this card in maybe 20 minutes. Both kinds of paper can be purchased from your local craft store. And yes, I used a glue stick.
Dinner Table for Two
I had brunch with a relative of mine and wanted to thank them for the experience with a lovely pop up card! I'm diving back into pop ups these days. The idea of this card is to imitate where we had our brunch - as if it was at a dinner table. So my relative sees a flat white card, opens it up, and sees a 3-D table and two furnished chairs...made out of paper, of course. This is one of my favorite pieces because it can become so many things with a creative mind. Notice the plate and silverware that I drew on the table. I would not have this idea were it not for a pop up class I recently took taught by book artist and author, Carol Barton. She also taught me the magical power of glue sticks; a tool I used to think was better left to elementary school art classes!
Subscribe to:
Posts (Atom)